Edible & perennial · Layered planting

An orchard designed like a woodland

A food forest is an orchard designed like a woodland: a tall canopy layer, fruiting understory trees, berry shrubs, and edible groundcover all stacked in the same footprint. It is the most future-facing thing you can do with a lawn, and the hardest to picture, because the design only makes sense once you can see year twelve. That is precisely what Painted Acre is built to show.

Design my food forest Browse the designs ↓
No account needed · try it on a sample yard first
Watercolor of a mature backyard food forest at twenty years: a pecan canopy over flowering serviceberries, a hazelnut on the west edge, and a gravel path winding through a wood-chip floor planted with thyme and wild strawberry
A real Painted Acre plan — the same yard, twenty years grown.
See it on a real yard

Your lot, twelve years on

Every food forest mistake is a spacing mistake, and you make it in March when a fifty-foot oak is a four-foot stick and the yard looks empty. Painted Acre starts from a photo of your lot, paints it as a watercolor, and grows every tree at its real mature width — so you can see which of your berry shrubs are standing in full shade by year fifteen while there is still time to move them.

Drag the handle: the photo on the left, the painted design on the right. Same yard.

Paint my yard
The same yard painted as a food forest twenty years grown, canopy to groundcover
A photo of the plain open back lawn today, all mown grass in full sun with no trees in it
Today — your photo
Your food forest — painted
Real product output — the photo, then the same photo painted.
The layer designer

Place the canopy, then check the shade

Upload a photo of your yard, set the canopy trees first at mature width, fill the bright gaps under them — then drag the timeline to year twenty and see what is still in sun.

The sample food forest plan rendered by the studio, one frame per timeline year
1 Pecan · year 1
2 Serviceberry × 3 · year 1
Serviceberry
3 Hazelnut · year 1
Serviceberry
4 Daylily × 11 · year 2
Daylily
Daylily
Daylily
Daylily
Daylily
Daylily
Daylily
Daylily
5 Creeping Thyme × 20 · year 3
Creeping Thyme
Creeping Thyme
Creeping Thyme
Creeping Thyme
Creeping Thyme
Creeping Thyme
Creeping Thyme
Creeping Thyme
Creeping Thyme
Creeping Thyme
Creeping Thyme
Creeping Thyme
Creeping Thyme
6 Wild Strawberry × 16 · year 3
Wild Strawberry
Wild Strawberry
Wild Strawberry
Wild Strawberry
Wild Strawberry
Wild Strawberry
Wild Strawberry
Wild Strawberry
Wild Strawberry
Wild Strawberry
Wild Strawberry
Wild Strawberry
Year 1 20
Year 1 · Sticks in mulch
Every step is the studio's working render of this design at that year — the exact 10 timeline checkpoints you scrub in the product. One click in the studio repaints any year as a finished watercolor, like the painting in the hero above.
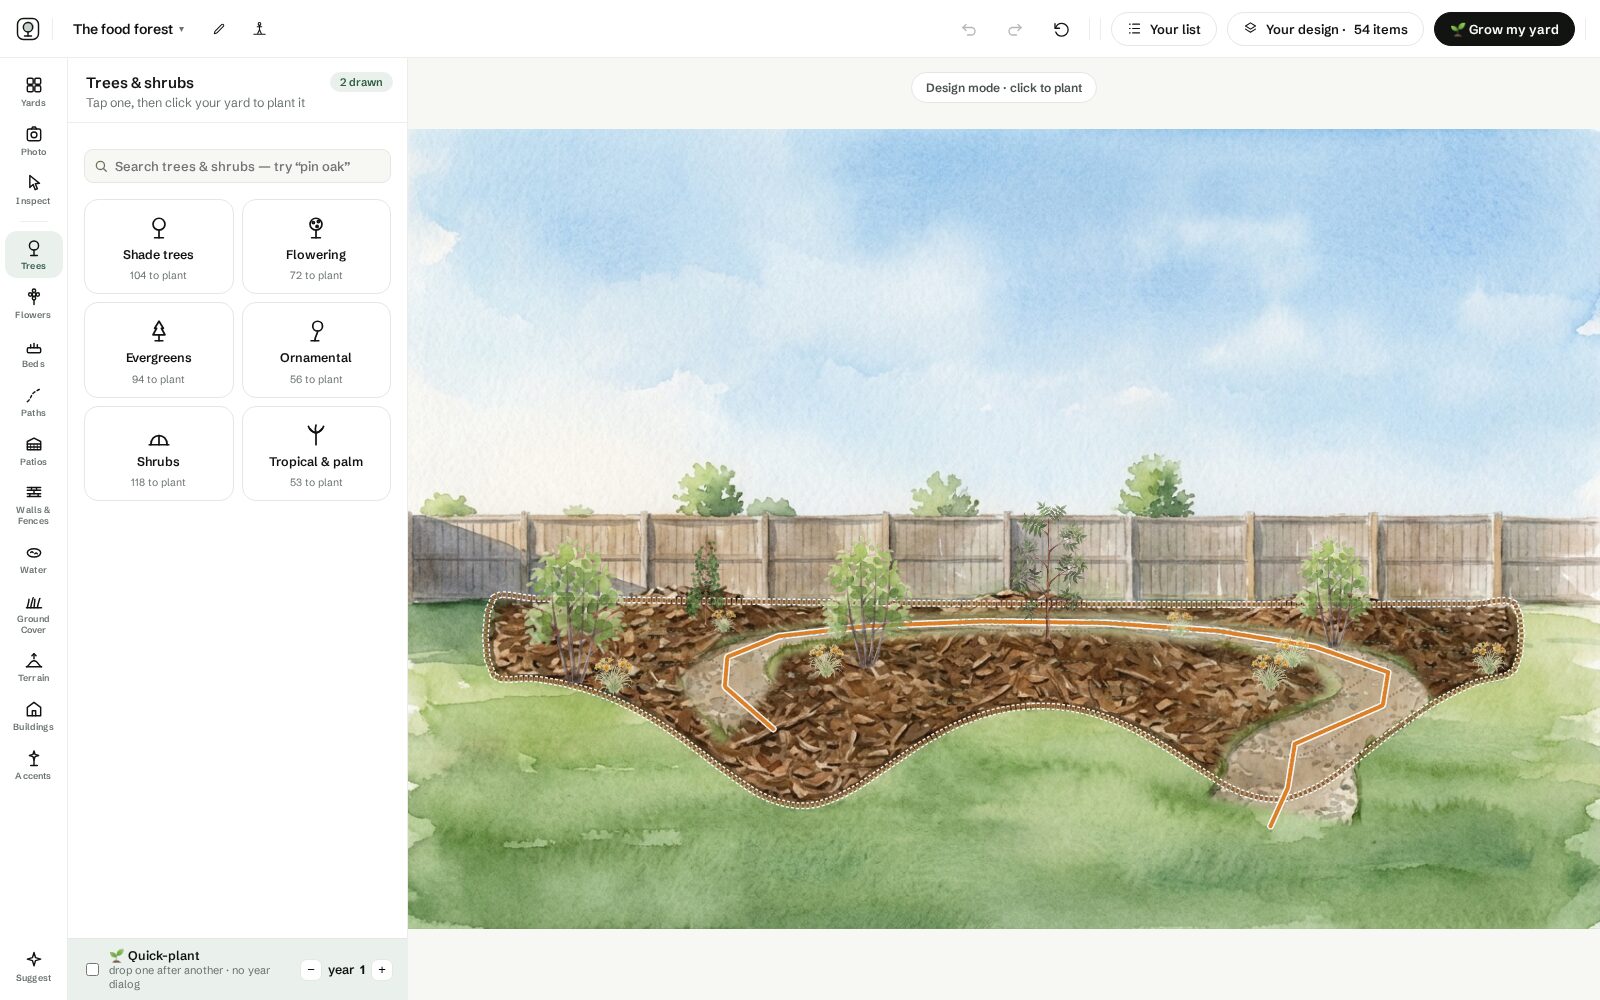
The studio in design mode: the oak canopy anchor placed at mature width with the understory gaps still open
01
Canopy first

Place the big trees before anything else and the studio draws them at fifty feet, not at nursery size — the shade pattern is the design.

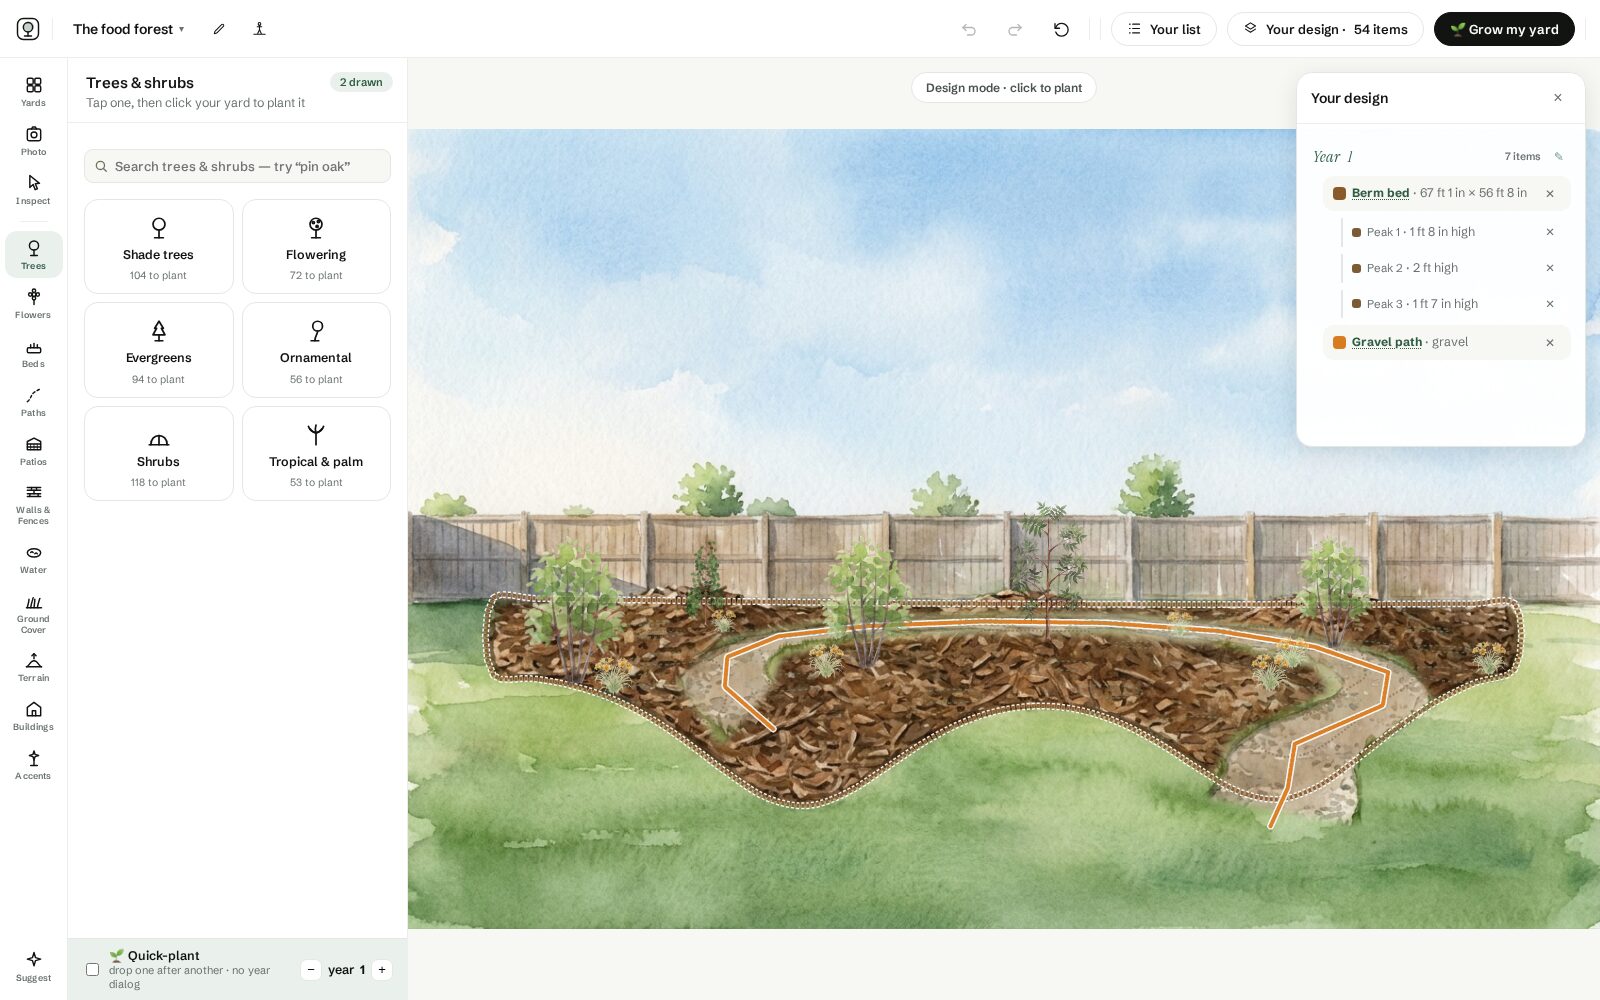
The design drawer grouping the planting by layer, canopy down to groundcover
02
Fill the layers below

Understory fruit into the bright gaps, berries at the sunny edge, groundcover on the floor, beds in whatever sun is left.

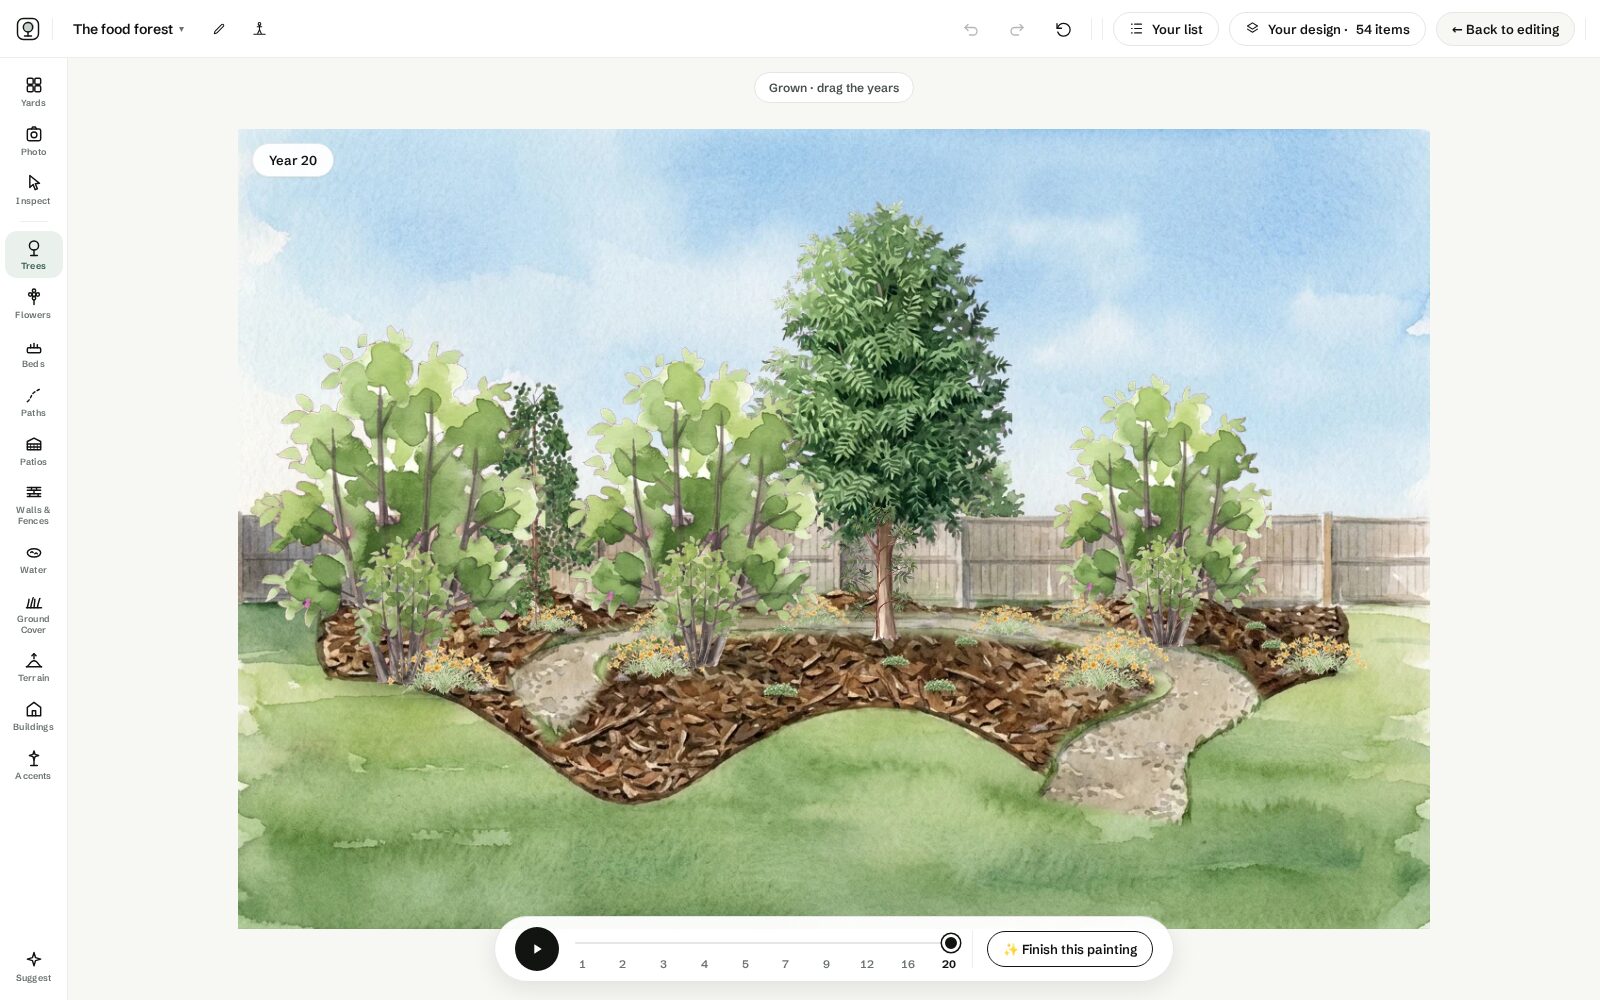
The studio grown view at year twenty with the year slider timeline
03
Drag to year twenty

Watch the canopy close over ground that was in full sun the day you planted it, then print the plan and the bare-root order list.

Real screenshots of the studio, working on the same sample plan you see on this page.
Open the studio

Year one is sticks. Year six is dinner.

A food forest matures on a tree schedule, not a gardener one: three awkward years of whips in mulch, a berry layer paying by year six, a canopy that closes somewhere around year twelve. There is no version of this that is fast. Every frame below is the same sample plan rendered by the studio.

Year 1food forest at year 1 Sticks in mulch. Five whips and a twelve-yard chip drop. Nothing here feeds anybody this year, and that is the plan — the wood chips are the only thing working.
Year 3food forest at year 3 The floor knits. The whips reach head height and the thyme closes over both edges of the path. Still almost nothing to pick, and this is the year people give up.
Year 6food forest at year 6 The berries pay. Serviceberries fruit overhead in June and the shrub layer hits full production. Six years in, the yard finally hands you something.
Year 12food forest at year 12 The canopy closes. The nut tree reaches over everything. What was full sun in year one is dappled shade, and the floor turns to thyme and wild strawberry.
Year 20food forest at year 20 A woodland that feeds you. Four heights producing at once, no lawn left to mow behind the path, and the chips you spread in year one are the soil.

Design the layers, not the plants

Start with the canopy: one or two full-size trees set the shade pattern for everything below, so place them first and place them honestly, at mature width. Then the understory fruit trees go in the bright gaps, shrubs at the edges where they get sun, and groundcover knits the floor. On a painted plan you can see the shade pattern the canopy will cast in 15 years, which is the single most common food forest design mistake to get wrong.

The sample food forest at year twelve: the pecan canopy closed overhead, serviceberries in its half-shade, the mulch path winding between them
Year twelve of the sample plan — the pecan now shades ground that was in full sun when it was planted. That pattern is the thing to get right in year one.

The first three years are the awkward years

A young food forest looks like scattered sticks in mulch, and most people lose faith right then. Interplant the gaps with annual vegetables and fast perennials the first few seasons: the ground works for you while the trees establish, and the yard never looks abandoned. The timelapse is honest about this awkward phase, and about the payoff after it.

Yield follows structure

By year six a well-layered plan produces from four heights at once: tree fruit overhead, berries at arm height, perennial herbs and greens below. Harvest paths matter, keep every planting reachable from a path, or it will feed the birds instead of you.

The trees are the cheap part.

A bare-root serviceberry whip is about $12 in January; the same tree potted in May is $90, and by year six you cannot tell them apart. So the money here is not the trees. It is twelve cubic yards of wood chips — free, if you catch an arborist crew working your street — a hose you actually drag out through two full summers, and the nerve to space a canopy tree at fifty feet while the yard looks empty. The real cost is the calendar: nothing you plant this March feeds you properly before year six, so the design job is sequencing the wait. A year-by-year plan with a bare-root order list you can hand a mail-order nursery in January is exactly what the printable Painted Acre report gives you.

The food forest plan · Zone 6a Ohio
Year 1
The bones and the wait
Pecan × 1bare-root · the island, 30 ft clear
Serviceberry × 35–6 ft whips · the bright gaps
Hazelnut × 1bare-root · the west edge
Wood chips · 12 yd³free arborist drop · 4 in deep
To do this year
Order bare-root in January; plant in March while dormant
Mulch each tree 4 in deep and 3 ft wide, held off the trunk
Water 5 gallons per tree, weekly, through two summers
Year 2
The layer that pays first
Berry shrubs along the bright outer edges of the berm
Daylilies on the sunny margin either side of the path
Year 3
The floor
Creeping thyme down both edges of the path
Wild strawberry across the open floor, inside the loop and out
By year 6: first real serviceberry crop
From the sample plan's printable report — the canopy in year one, the berries in year two, the floor in year three.

The layers, painted

Canopy to groundcover, one entry per layer, each painted at every age so the awkward years are no surprise. Enter your ZIP and the palette keeps only what fruits in your zone.

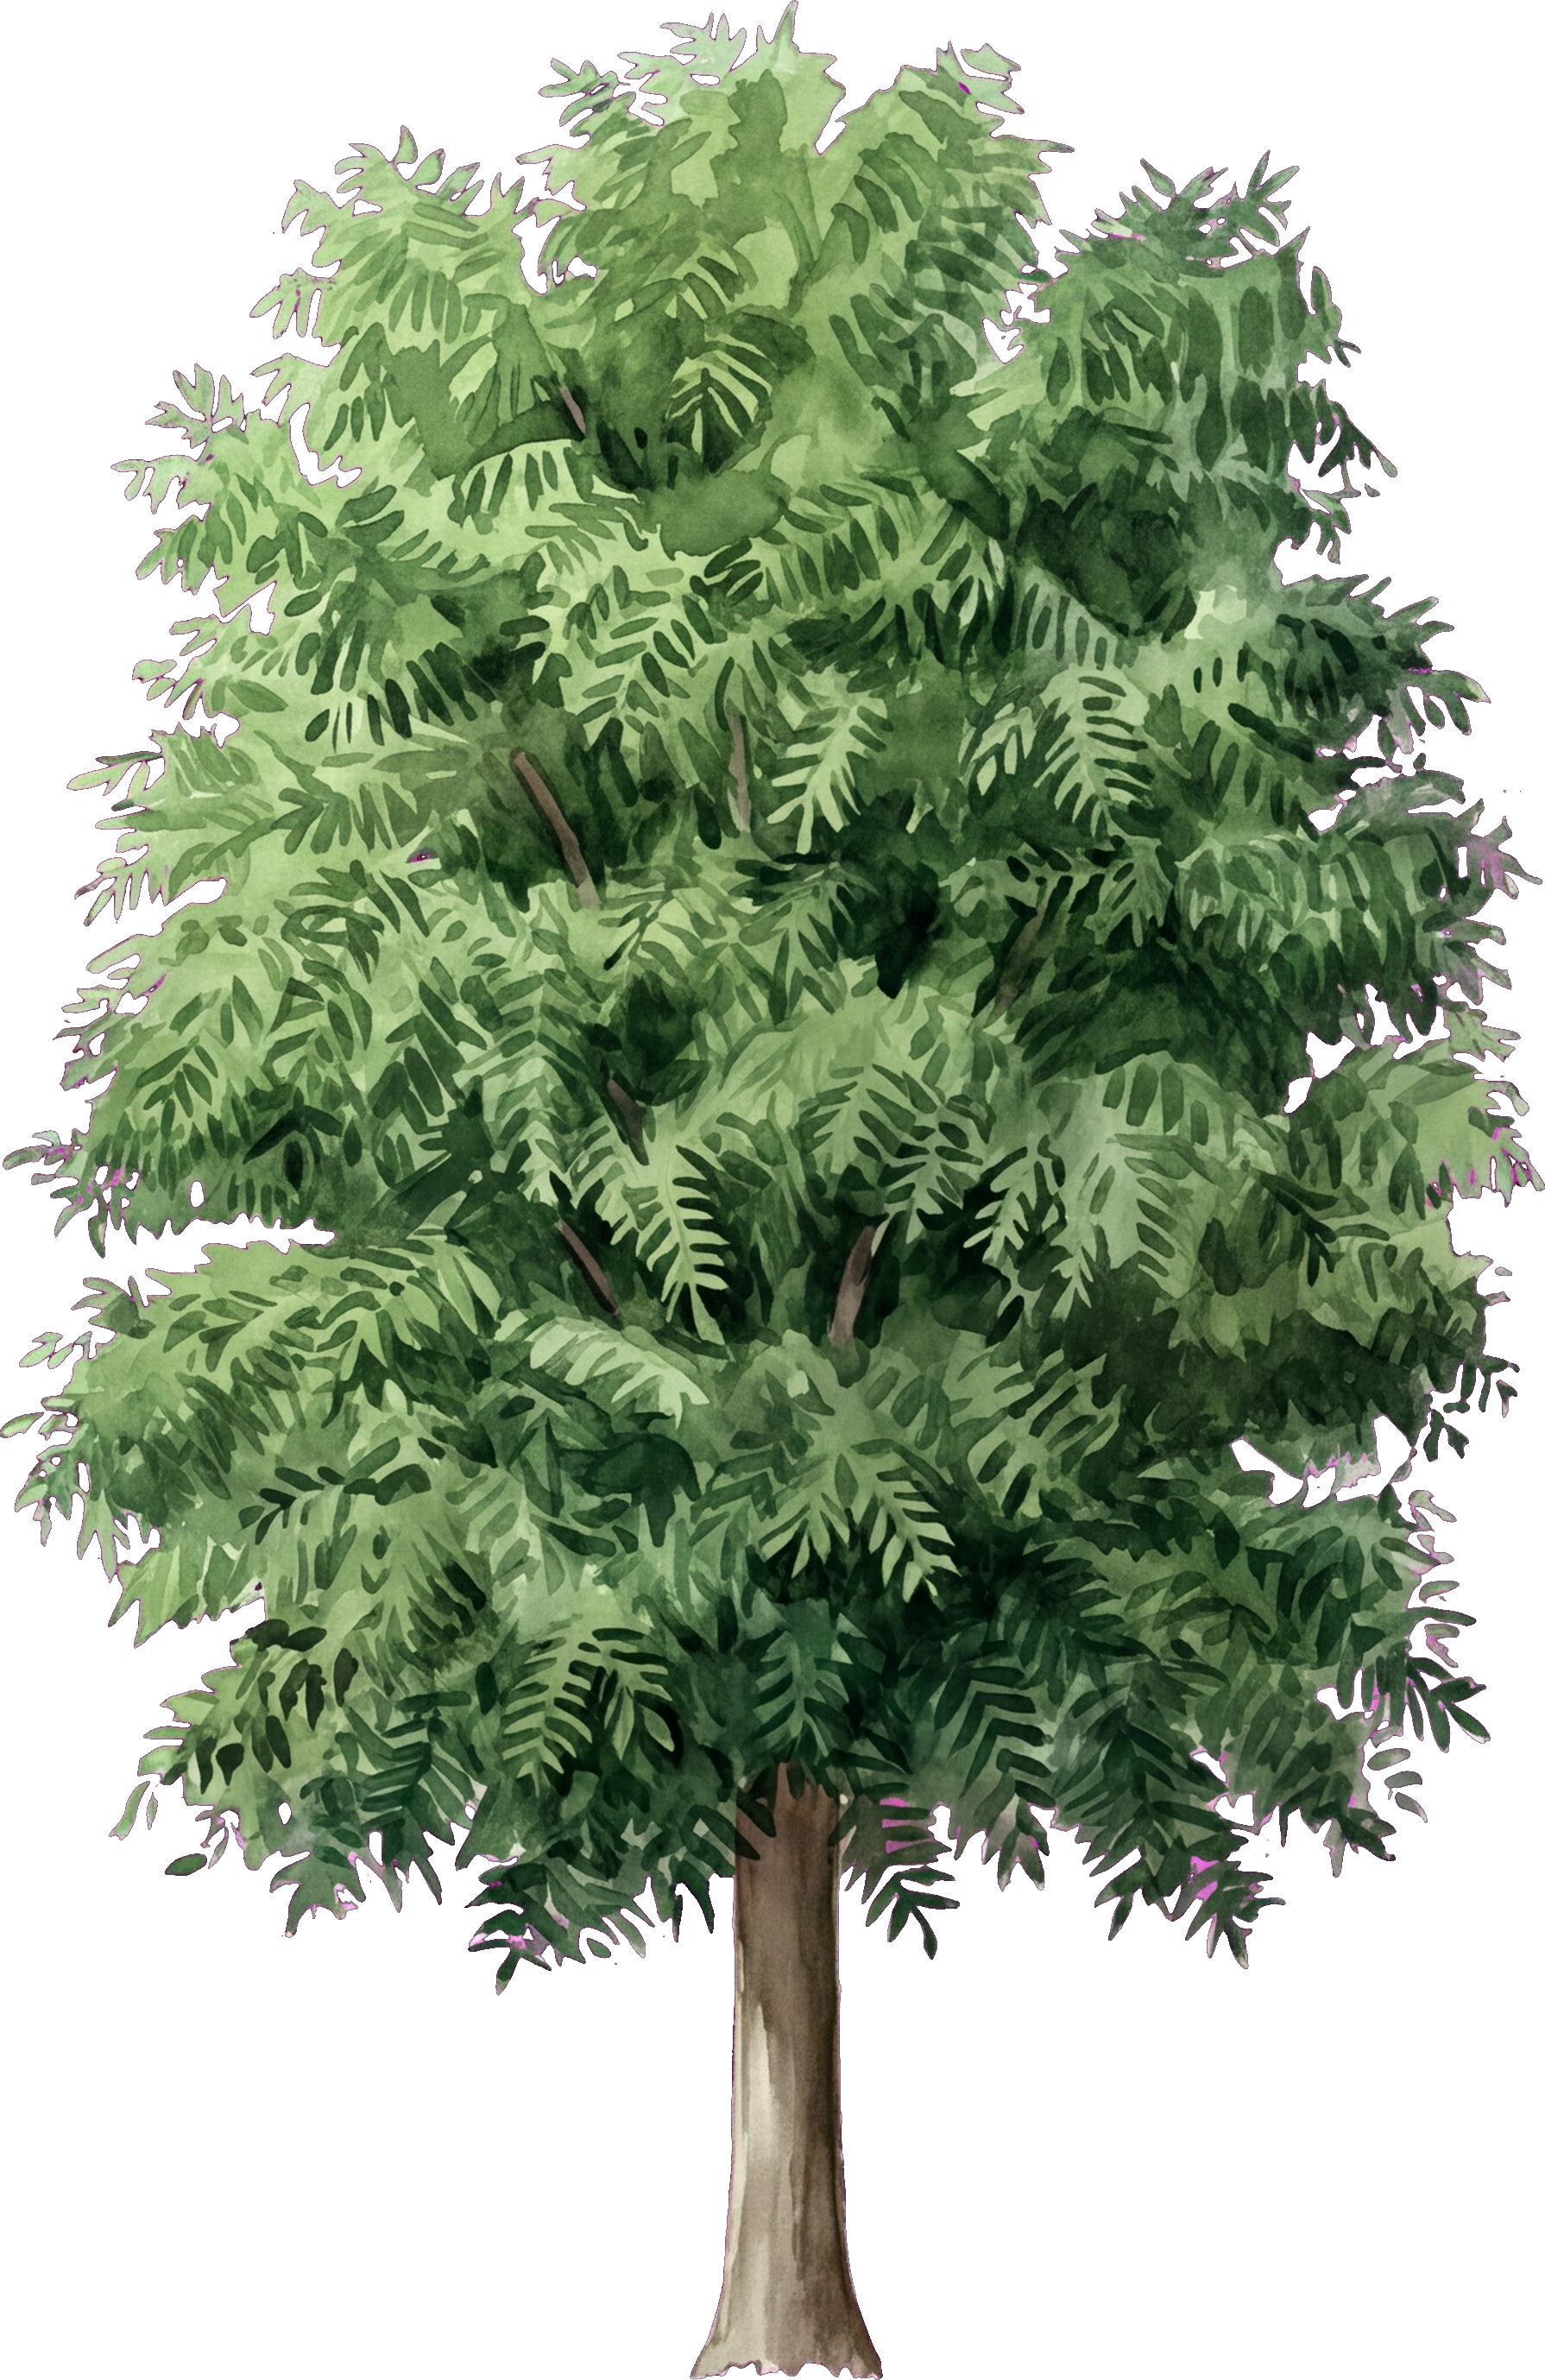
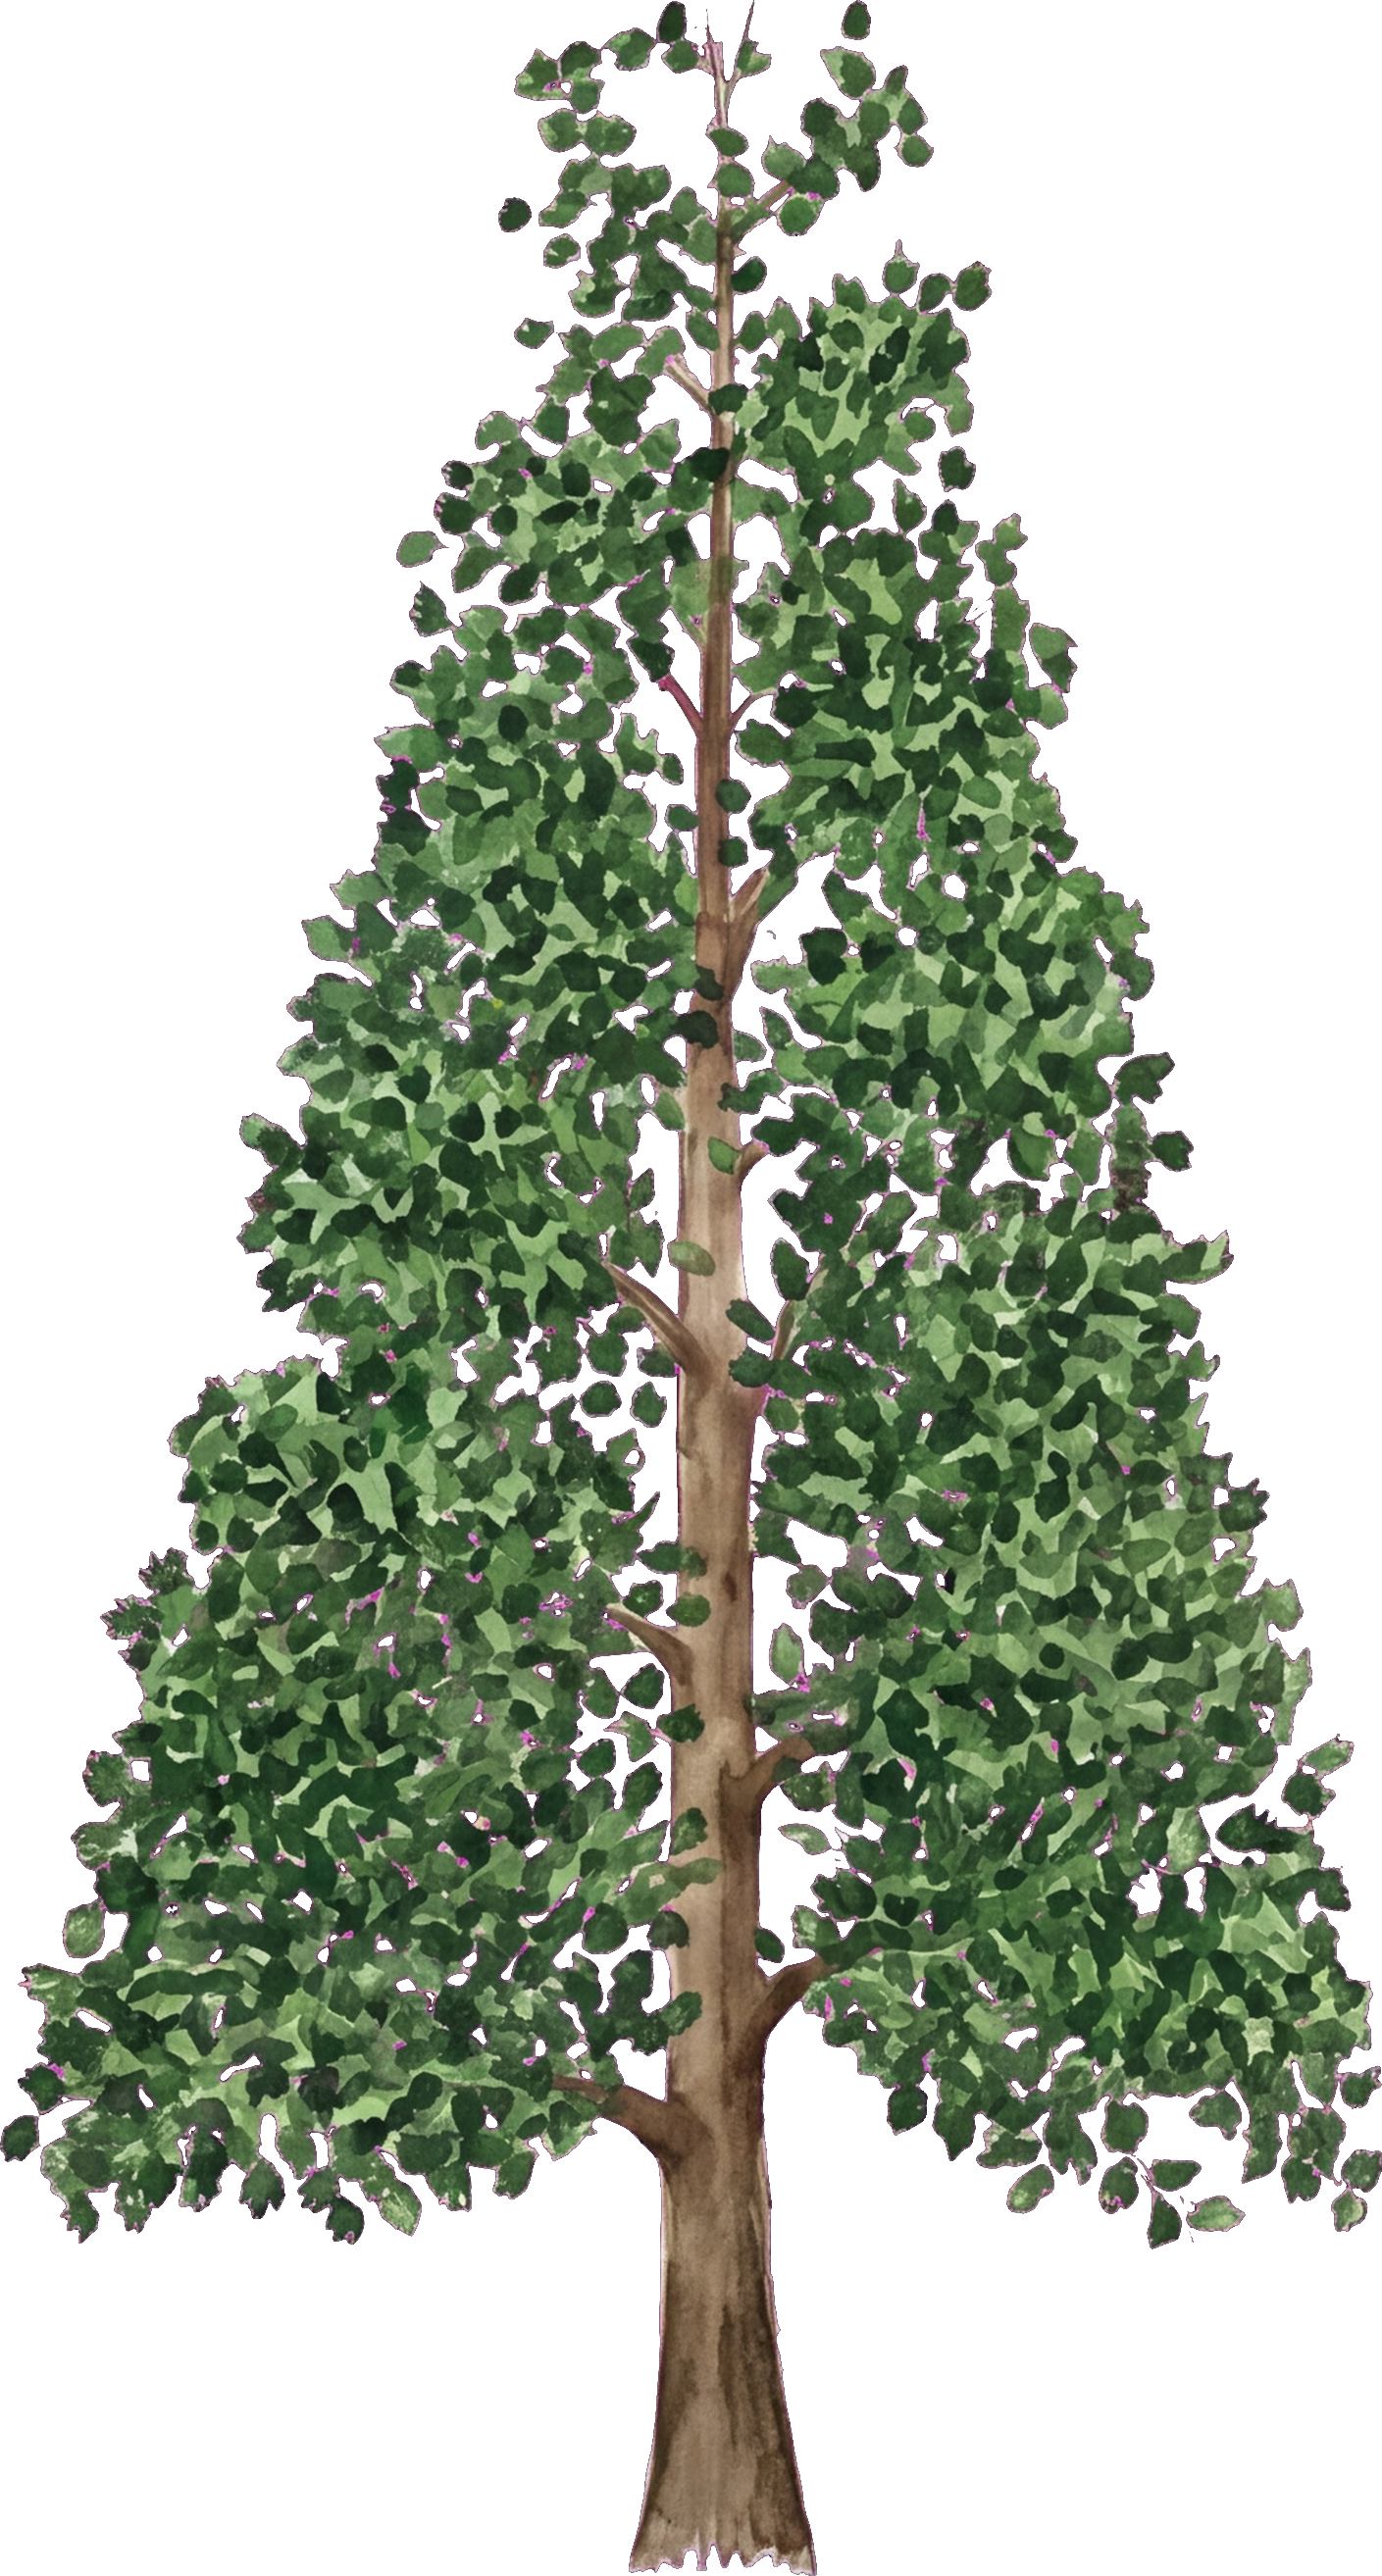
Watercolor of Pecan
Pecan

The canopy anchor, and a nut crop rather than only shade: it sets the shade pattern everything below has to live with.

Zones 6–975 ft
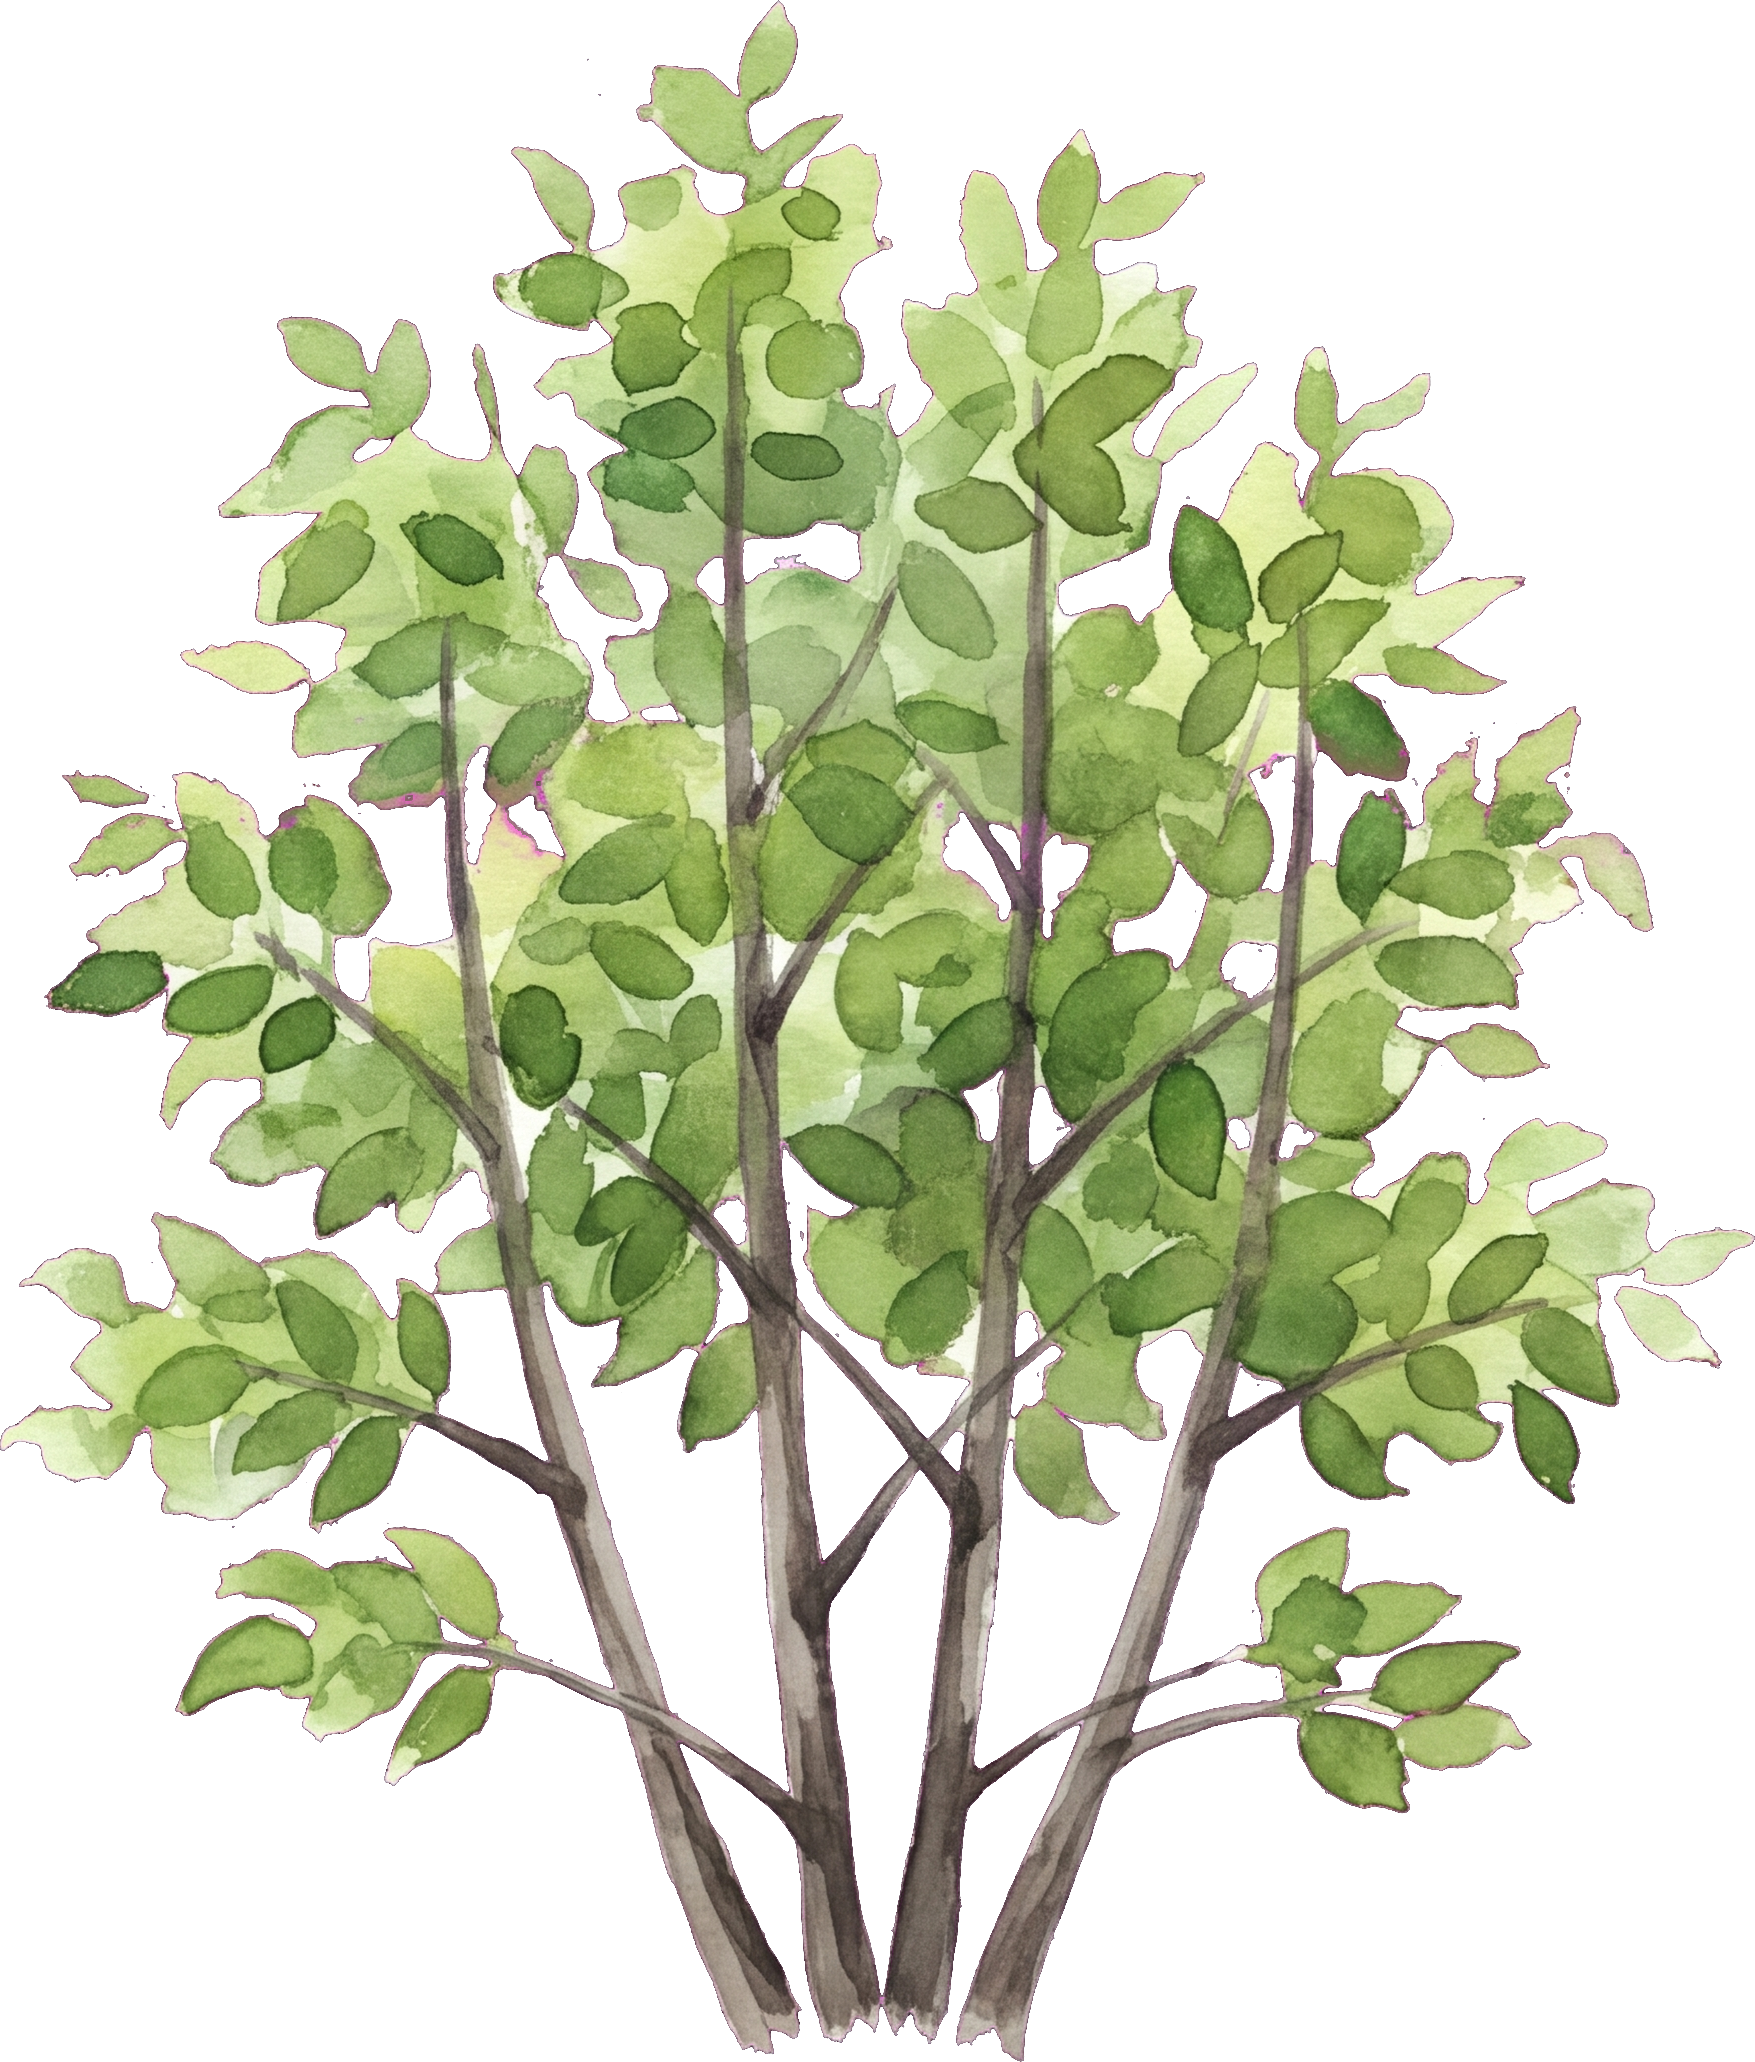
Watercolor of Serviceberry
Serviceberry

The perfect understory fruit tree: early blooms, June berries, blazing fall color.

Zones 4–820 ft
Watercolor of Turkish Filbert
Turkish Filbert

A hazelnut with a narrow upright habit, so it fits a second nut crop into a yard that has no room for a second canopy.

Zones 4–745 ft
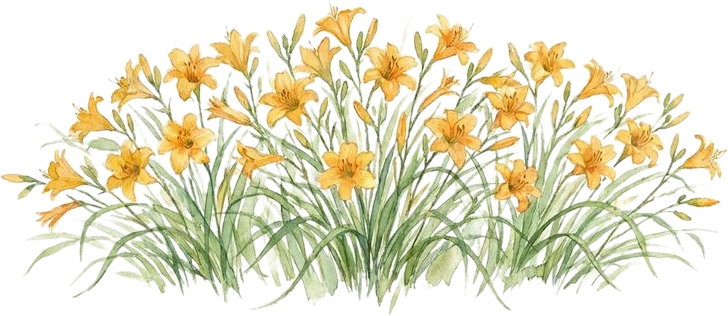
Watercolor of Daylily
Daylily

Tough perennial with edible buds, great for the sunny margin beside a path.

Zones 3–92 ft
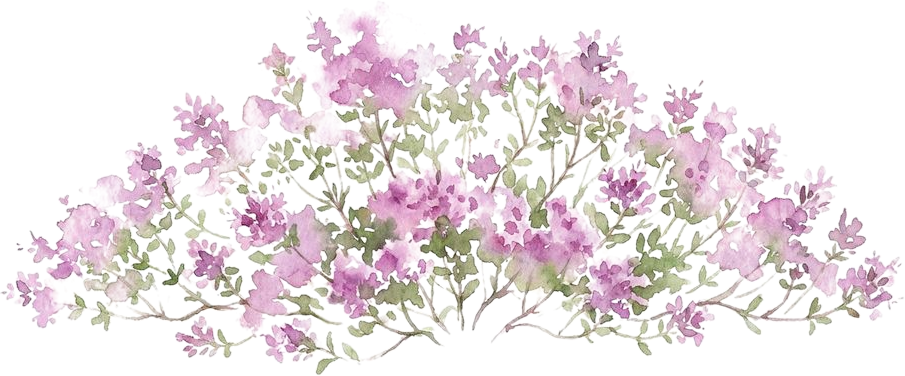
Watercolor of Creeping Thyme
Creeping Thyme

Edible, walkable groundcover for the path edges.

Zones 4–90 ft
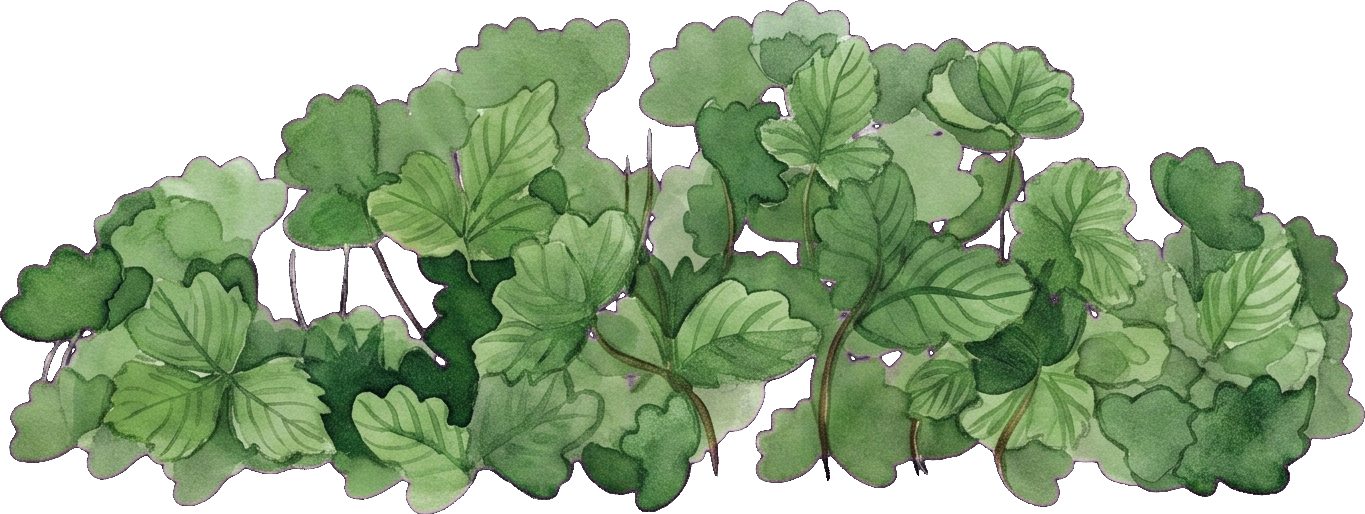
Watercolor of Wild Strawberry
Wild Strawberry

The floor layer: it spreads under the trees, fruits in June, and leaves nothing for weeds.

Zones 3–91 ft
What to expect, honestly: Year 1 to 3: sticks in mulch, annuals doing the visual work. Year 6: berry layer at full production, understory trees blooming. Year 12 and on: a closed canopy garden that feeds you and shades itself, with almost no lawn left to mow.

Questions people ask

Can I plan a food forest layout on my own yard?

Yes. Upload a photo, place the canopy trees, the understory and the shrub layer directly on it, then drag the years forward to watch the layers arrive in their own time. You can try it on a sample yard first, and no account is needed.

Can the designer lay out the layers for me?

Describe what you want, something like a food forest with a serviceberry understory, and the designer places a starting layout on your yard that you then move and swap by hand. It is a draft to argue with rather than a finished plan.

Will it show the year the canopy actually closes?

That is the most useful thing on the page. Each species carries a real growth curve, so berries and perennials read as productive early while the canopy trees are still small, and the year the layers finally knit together is visible instead of assumed.

Can I plant it in phases?

Yes, and a food forest almost demands it. Every plant carries the year it goes in, so the canopy can be planted first and the understory and ground layer added across later seasons. The report splits the shopping list by year.

What do I get at the end?

A watercolor of the designed planting, the growth view from year one to year twenty, and a printable report with a to-scale plan view from above showing every plant at its mature spread, plus a year-by-year shopping list.

Plant the yard you will eat from

Start from a photo of your own yard, stack the layers from any of the designs above, and see the shade pattern at year fifteen before you dig a single hole.

Design my food forest

Related scenarios

See all 16 scenarios →