Put it where the water already goes
Walk outside during the next hard rain and watch: the water tells you where the rain garden belongs. Downhill from a downspout, at least 10 feet from the foundation, never over the septic field, and not in the spot that already stands wet for days, that is a drainage problem, not a rain garden site. Size runs about a fifth to a third of the roof area draining to it. Drawing the basin on a painting of your actual yard settles the location question in a way a brochure diagram cannot.
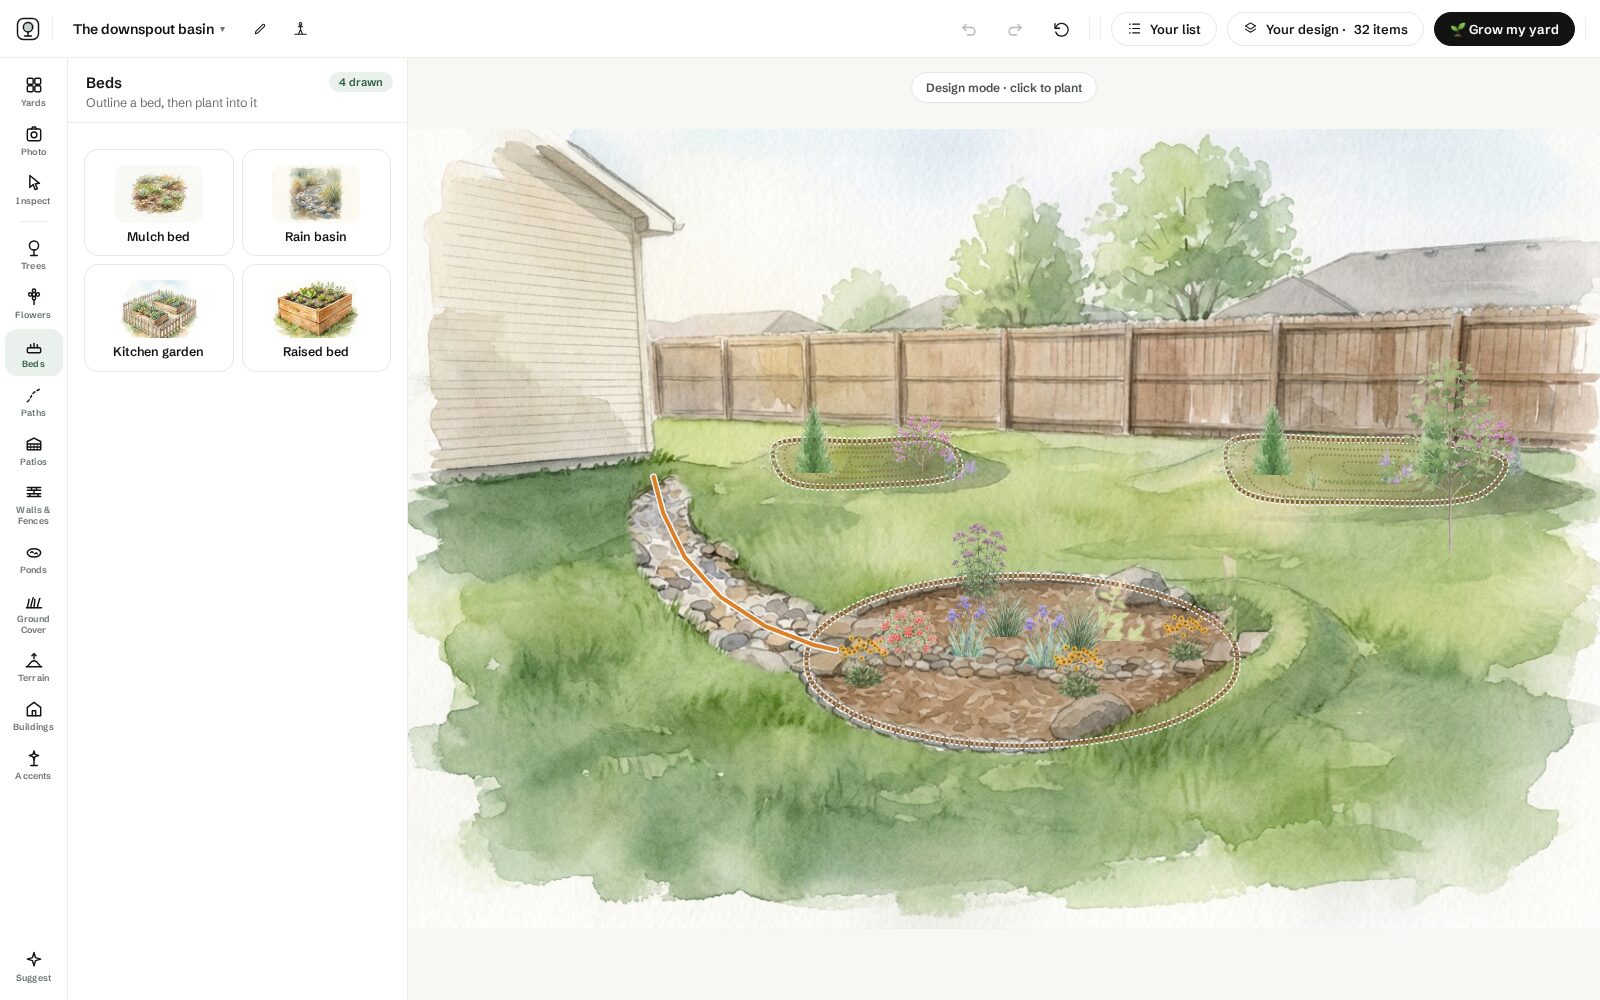
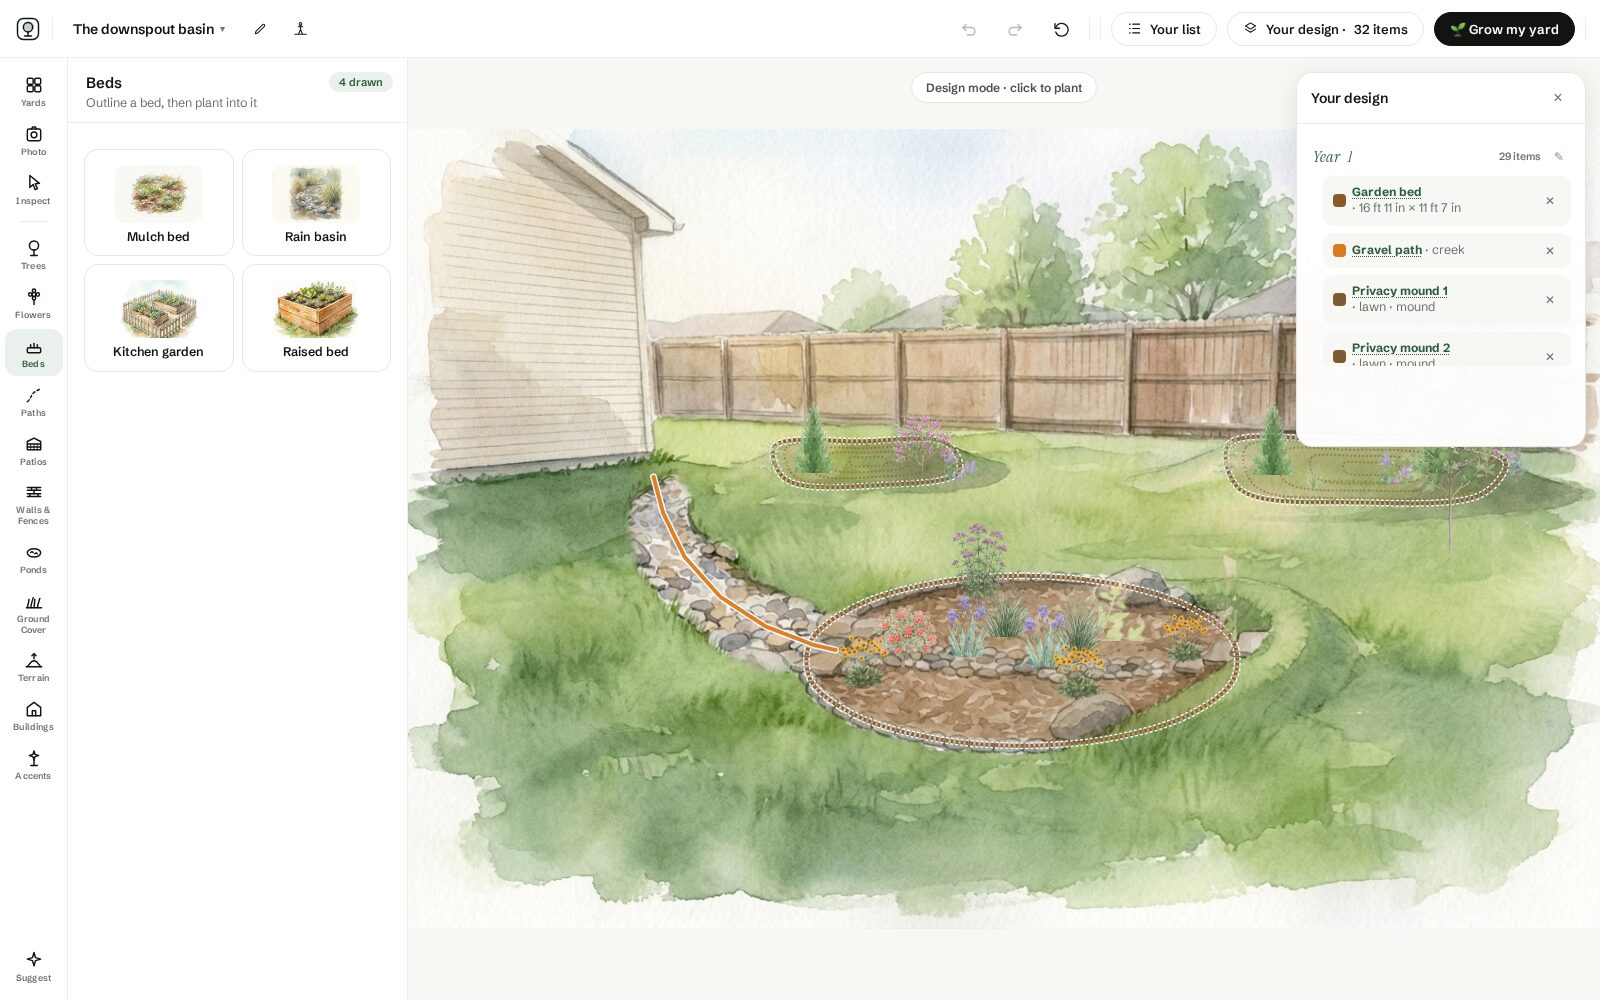
Year one of the sample plan — the bowl cut where the water already ran, and the maple set behind the overflow.
Three zones, one basin
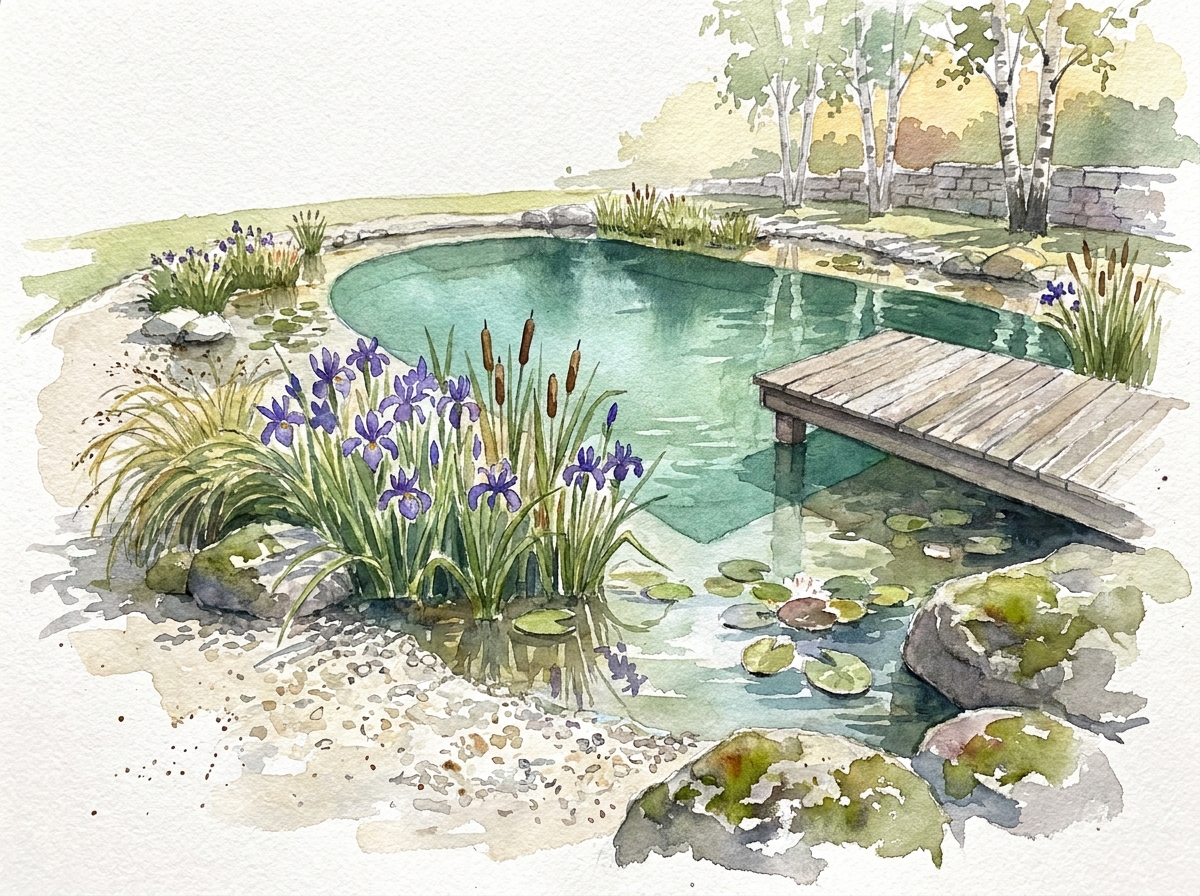
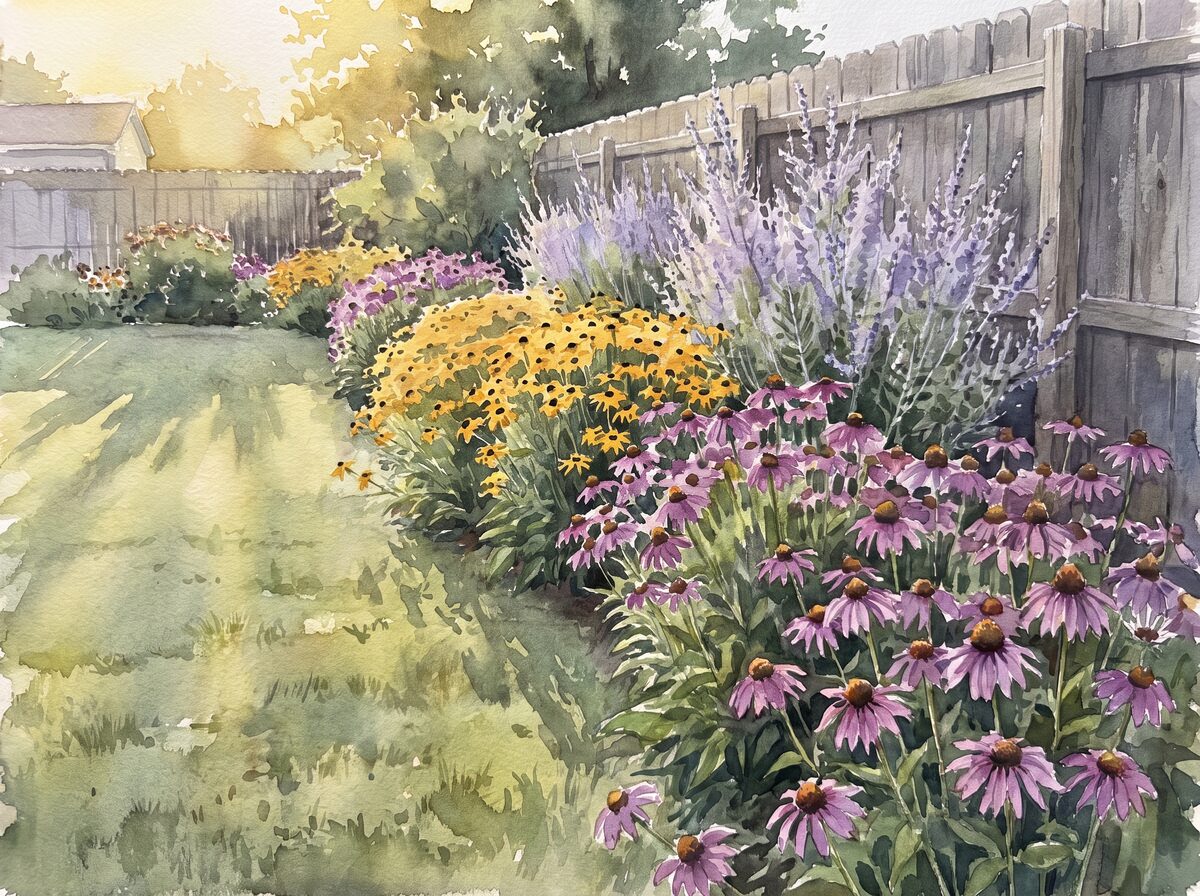
A rain garden plants in rings. The center holds the most water the longest, so it takes the true wet-feet plants: blue flag iris, soft rush. The sloping sides flood briefly and drain fast, perfect for joe pye weed and swamp-edge shrubs. The rim almost never floods and wants ordinary tough perennials that tie the basin into the rest of the yard. Get the rings right and the garden thrives on total neglect; ignore them and the center drowns while the rim wilts.
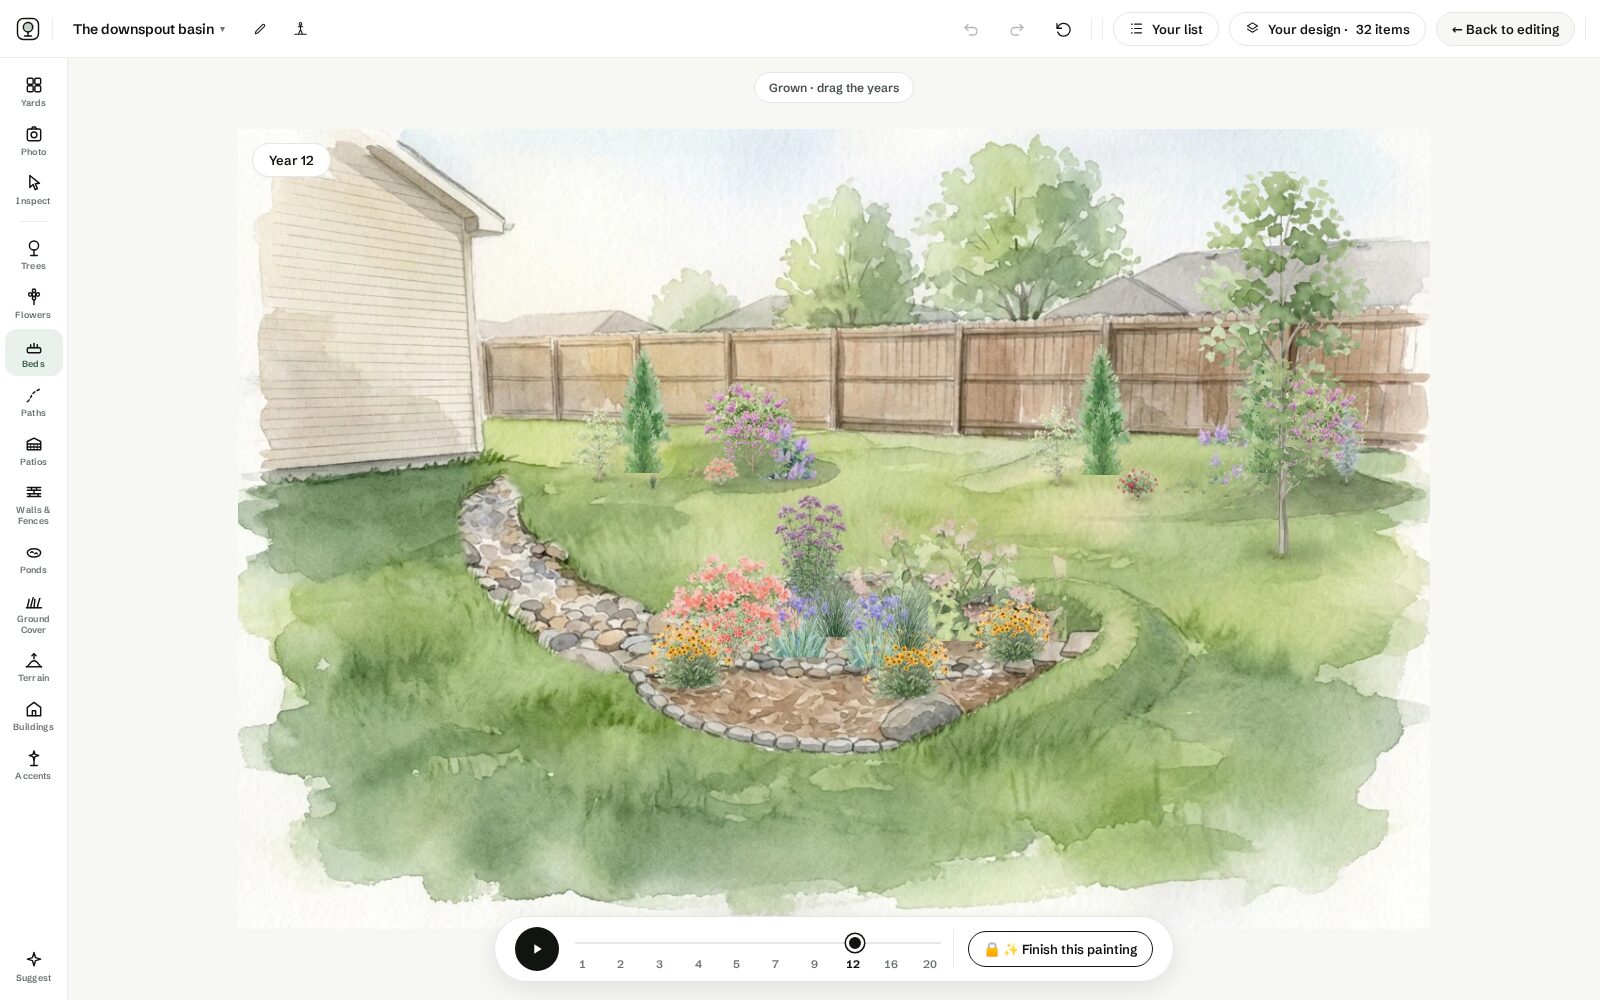
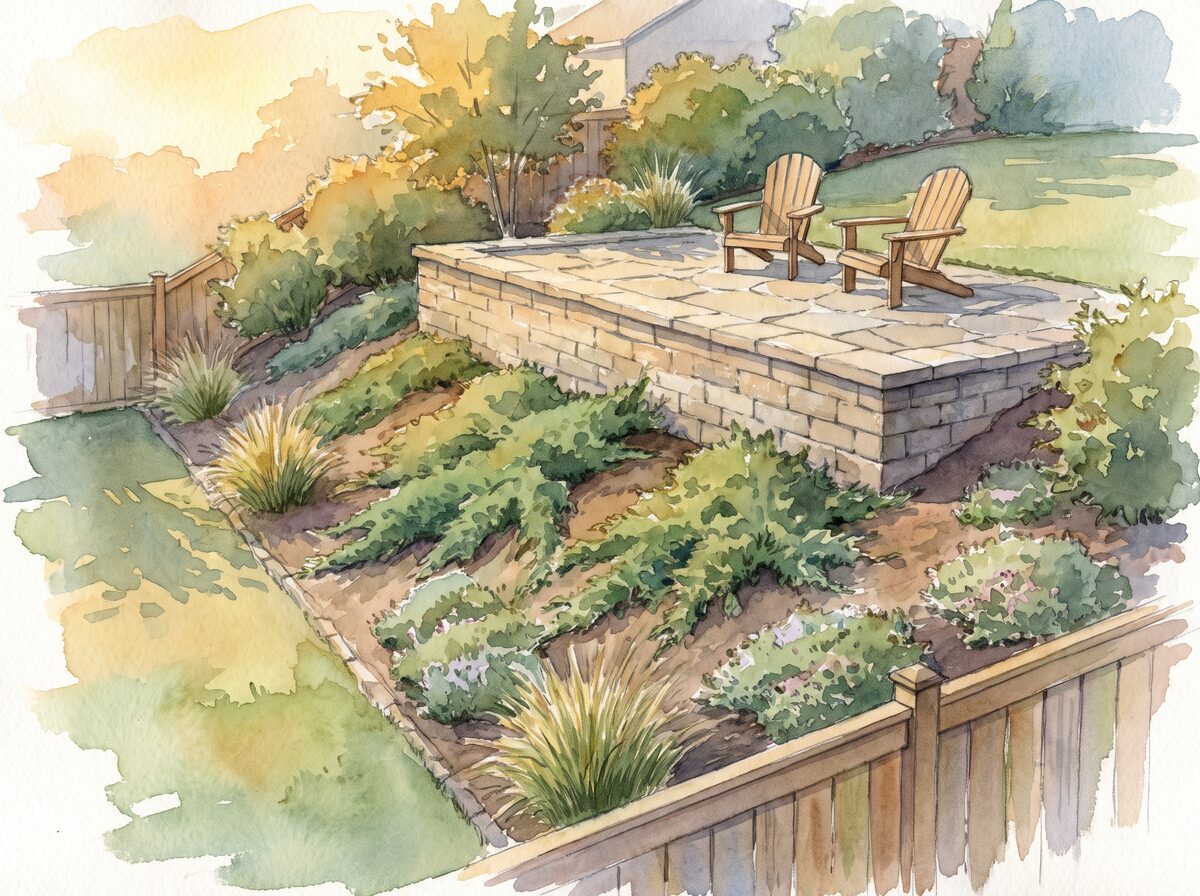
And on ground with any fall, the showpiece version is a chain: two or three cells stepping downhill, each held by a low grassy berm, linked by short stone runs, exactly what the paintings on this page show. Each cell stays an honest size while the chain swallows twice the storm.
It drains in a day, and that is the point
A properly built rain garden empties within 24 to 48 hours, faster than mosquitoes can breed, which answers the first question every neighbor asks. The engine is the plants: native roots reach 6 to 10 feet down and keep drilling the soil open year after year, so the basin drains better at year five than the day you dug it. Give the overflow somewhere to go, a notch at the low edge aimed at the lawn, and the design handles the storm that exceeds it.
Mostly, it is digging.
The expensive part of a rain garden is a weekend and a sore back. There is no pump, no liner, no shell and no contractor in the honest version: a 100 square foot bowl is a few cubic yards of soil moved by hand, and the plants are plugs, which cost a fraction of potted gallons and catch up within two seasons. Then check what your city pays — many utilities offer a stormwater credit that knocks a recurring fee off the bill, and municipal rebate programs commonly run $1 to $4 per square foot of basin, which on this plan covers the plants outright. A year-by-year plan with a plug list, ready to hand a native nursery or a rebate clerk, is exactly what the printable Painted Acre report gives you.
The rain garden plan · Zone 6a Ohio
Year 1
Dig once, build the chain
Blue Flag Iris × 3plugs · the wet centre
Soft Rush × 2plugs · the deepest zone
Black-eyed Susan × 2plugs · the dry rim
Red Maple × 1whip · behind the overflow shoulder
To do this year
Dig both cells to a 6-inch ponding depth; berm the low side with the spoil
Fill it with a hose and time it — empty in 24 to 48 hours, or fix the soil now
Keep the upper cell 10 ft off the foundation and off the septic field
Year 2
Finish the rings
Joe pye weed and the buttonbush on the back slopes
Black-eyed susan drifts close along both rims
Ask the city about the stormwater credit — the printed plan is the paperwork
Year 3
Roots go to work
Nothing to plant, nothing to dig — the roots are the maintenance
By year 5: the cells drain faster than the day they were cut
From the sample plan's printable report — the digging and the wet centres in year one, the slopes and rims in year two, and then nothing.
The rings, painted
Wet center, brief-flood slopes, dry rim: every plant here is picked for one of the three rings and painted at every age. Enter your ZIP and the palette keeps only natives that survive your winters.
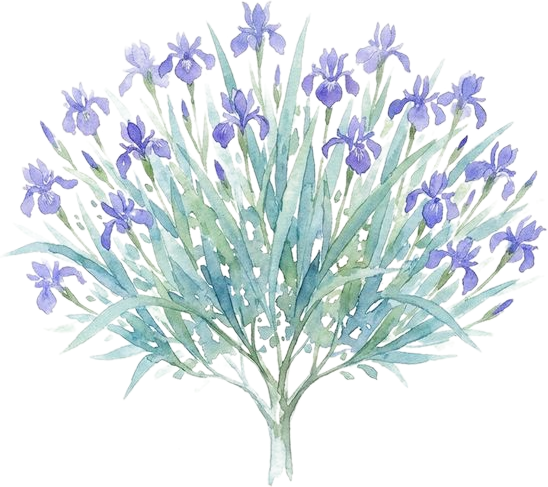
Blue Flag Iris
The wet center showpiece: violet flags in June, roots that drink like a pump.
Zones 3–93 ft
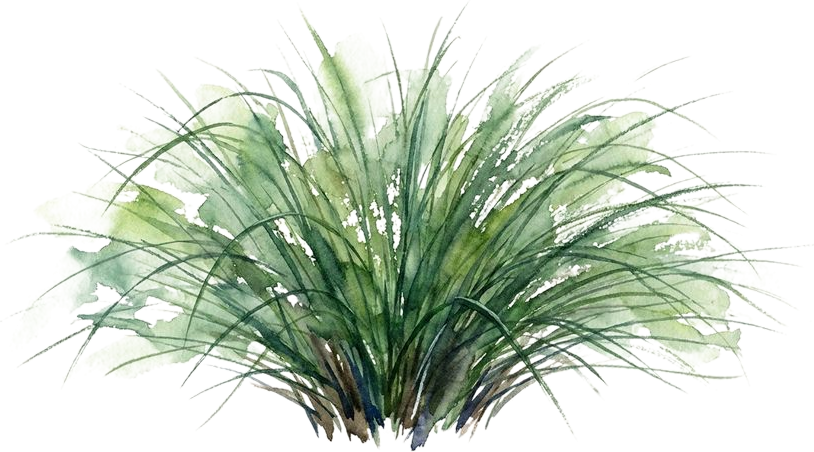
Soft Rush
Vertical structure in the deepest zone, green through winter.
Zones 4–93 ft
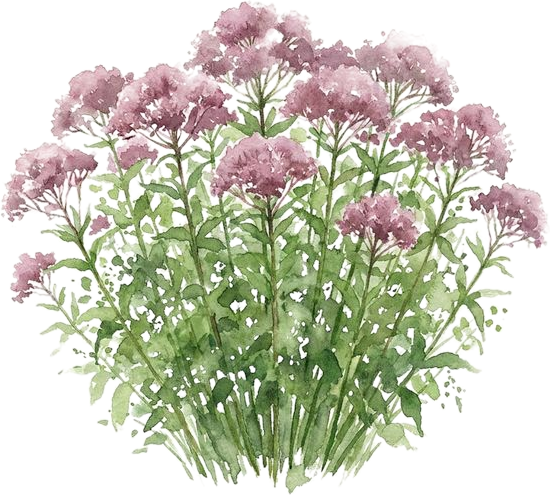
Joe Pye Weed
The side-slope tower: mauve umbrellas that butterflies mob in late summer.
Zones 4–96 ft
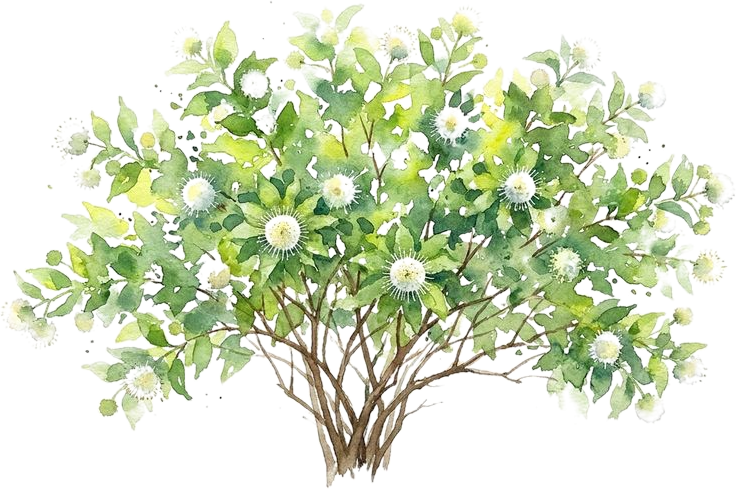
Buttonbush
A shrub for the wet end of bigger basins; pollinators treat the globes like a truck stop.
Zones 5–108 ft
Black-Eyed Susan
The dry rim workhorse that ties the basin into the yard.
Zones 3–92 ft
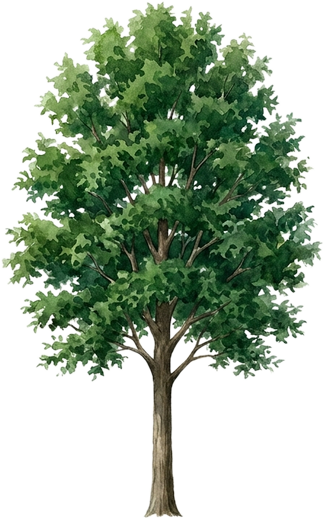
Red Maple
A simple, single-trunk shade tree behind the overflow; wet feet suit it, and it drinks what the basin sheds.
Zones 3–945 ft
What to expect, honestly: Year 1: a mulched bowl with small plugs, and it already works hydraulically from the first storm. Year 2: the rings knit and bloom. Year 4: roots have opened the soil, it drains faster than when new, and it reads as a garden that happens to be a basin, not a drainage project.
Questions people ask
▸Can I plan a rain garden before I dig?
Yes. Upload a photo of the low spot or the downspout run, draw the basin on it, plant the edges and the base, then drag the years forward. You can try it on a sample yard first, and no account is needed.
▸Can I put it in the right place on my own yard?
The canvas is painted from your photo, so the slope, the downspout and the distance to the house are the real ones rather than a diagram. You draw the basin where it actually goes and the plan view shows the footprint to scale.
▸Will the planting survive where I live?
Enter your ZIP and the palette filters to your USDA hardiness zone, so the rushes, iris and native perennials you place along the wet base and the dry rim are ones that overwinter locally.
▸Can I plant it in phases?
Yes. Every plant carries the year it goes in, so you can shape and plant the base first and let the rim fill in over following seasons. The report splits the shopping list by year.
▸What does Painted Acre actually produce?
An illustrative watercolor design plan with placement, plant choices, growth over time and a printable report. It is not a drainage or engineering document. Sizing the basin for your roof area and soil, and keeping the excavation clear of utilities and foundations, needs a qualified eye before you dig.